Thursday, 30 July 2020
Thursday, 9 July 2020
MySQL Workbench Cannot Connect to Database Server (Solved)
If you are Facing this error
 |
| Add caption |
then Follow the steps to avoid the errors
1. Login to your MySQL Command line tool,
2. Execute the command in the below format directly in the command line tool.
ALTER USER 'username'@'ip_address' IDENTIFIED WITH mysql_native_password BY 'password';
In my case It it
ALTER USER 'root'@'localhost' IDENTIFIED WITH mysql_native_password BY 'root';
After that Use the Workbench now It will run.
Monday, 6 July 2020
Things to Do After Installing Ubuntu 20.04
Things to Do After Installing Ubuntu 20.04
1. Check and Install Package Updates
2. Install Your Favorite Browser
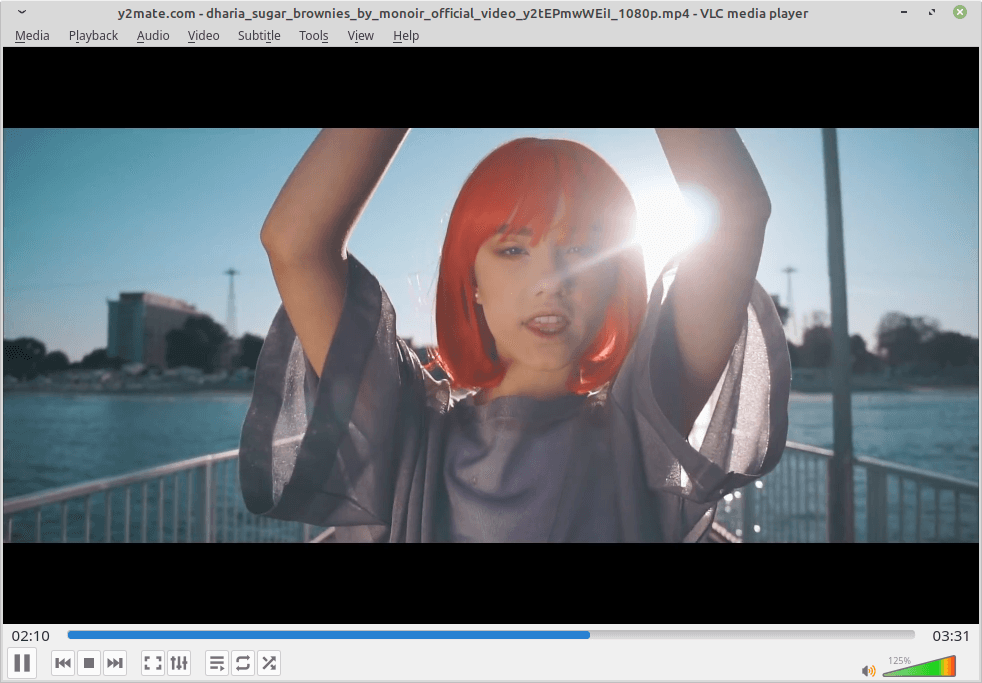
3. Install VLC Media Player
4. Install Media Codecs
5. Install Useful GNOME Extensions
For example, to install the GNOME host connector for Chrome or Firefox, run these commands.
6. Install Additional Archive Utilities
Ubuntu ships with tar, zip and unzip archiving utilities by default. To support different archive files that you can use on Ubuntu, you need to install other additional archiving utilities such as rar, unrar, p7zip-full, and p7zip-rar as shown.
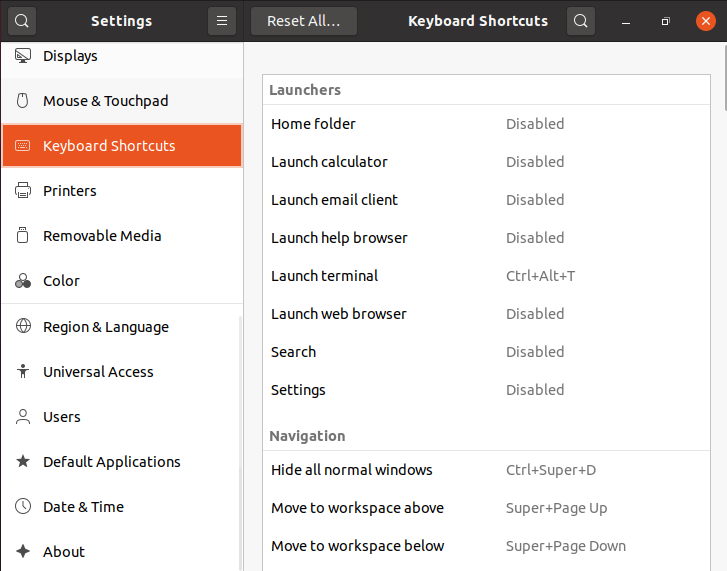
7. Configure Keyboard Shortcuts
Using keyboard shortcuts can increase your productivity and save you lots of time when using a computer. To set your keyboard shortcuts, under Settings, simply click on Keyboard Shortcuts.
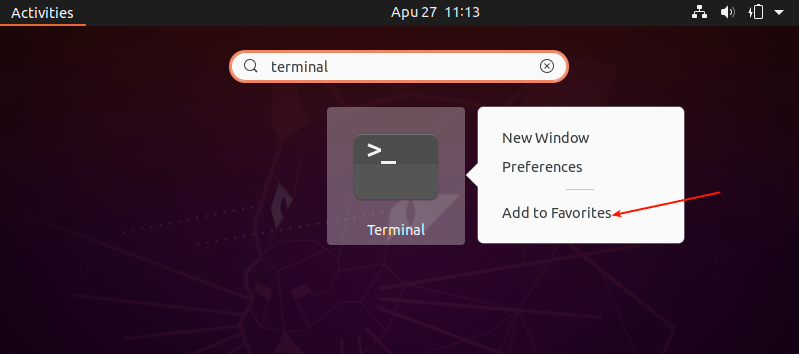
8. Add Your Favorite Apps to the Dock
To add your favorite applications to the Ubuntu Dock (which is situated on the left side of your desktop by default), click on the Activities overview, search for the application you want e.g terminal, then right-click on it and select Add to Favorites.
9. Install Laptop Power Saving Tools
If you are using a laptop, then you might want to install Laptop Mode Tools, a simple and configurable laptop power-saving tool for Linux systems. It helps to extend your laptop’s battery life in so many ways. It also allows you to tweak some other power-related settings using a configuration file.
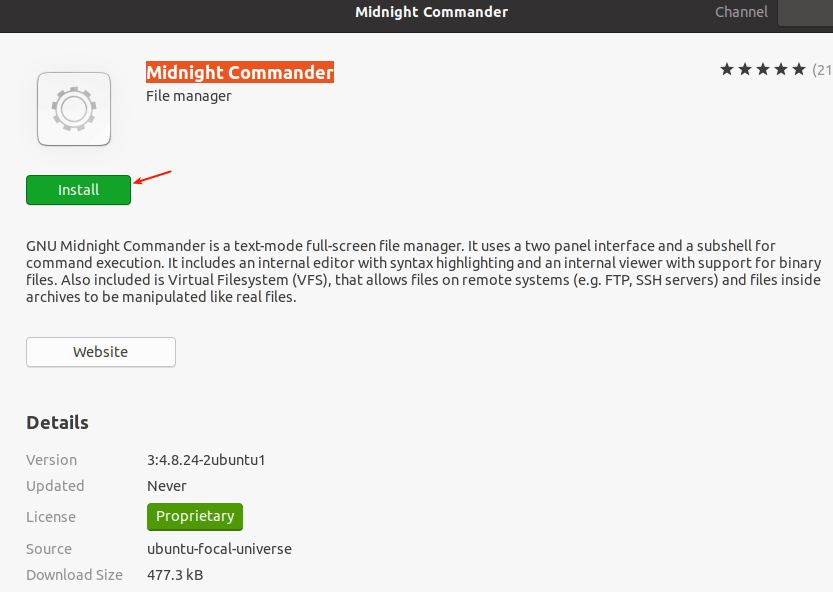
10. Install Apps from the Ubuntu Software and Third-party
Last but not least, go ahead and install more software that you intend to use. You can do this from the Ubuntu Software (or install apps from third-party repositories).
Simply open the Ubuntu Software and use the search feature to find the software you want. For example, to install midnight commander, click on the search icon, type its name, and click on it.
11. Install JAVA
JAVA is the most popular programming language and many applications and websites will not work properly unless you have it installed on your system.
Sunday, 5 July 2020
Usb Bootable for windows - Linux
First Install Power ISO from
https://haseebabbasi00.blogspot.com/2018/08/power-iso-7-by-haseeb-abbasi-5-mb.html
link given below
Step1: Create Bootable USB Drive
Start PowerISO (v6.5 or newer version, download here).
Insert the USB drive you intend to boot from.
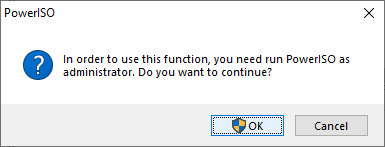
Choose the menu "Tools > Create Bootable USB Drive". The "Create Bootable USB Drive" dialog will popup. If you are using Windows Vista or above operating system, you need confirm the UAC dialog to continue.
In "Create Bootable USB Drive" dialog, click "..." button to open the iso file of Windows operating system.
Select the correct USB drive from the "Destination USB Drive" list if multiple USB drives are connected to the computer.
Choose the proper writing method. "USB-HDD" is recommended.
Click "Start" button to start creating bootable USB drive.
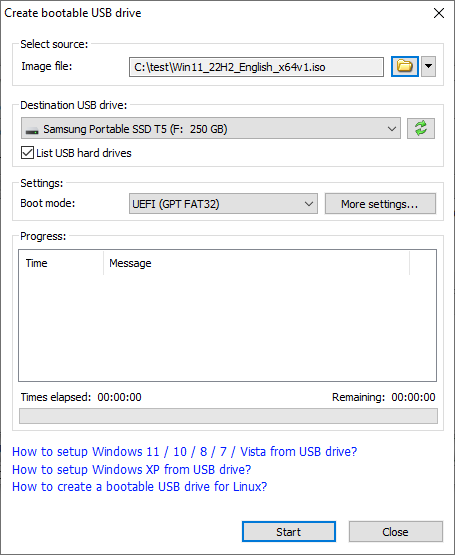
PowerISO will alert you that all data on USB drive will be destroyed. Click "OK" to continue.

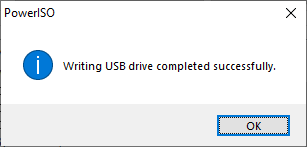
The program will start writing USB drive, and showing the progress information. You should get the message "Writing USB drive completed successfully." after the operation completes.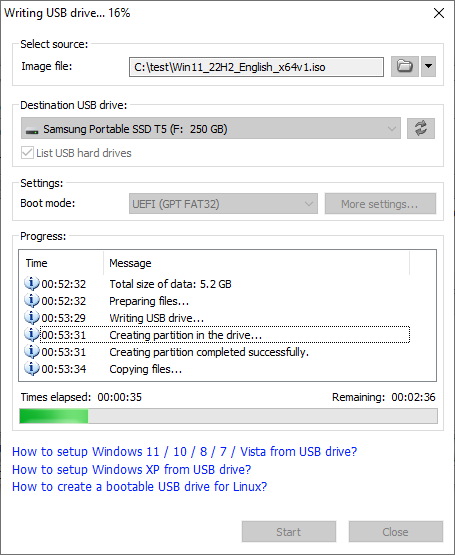
If no errors occurred in the above process, you should now be all set to setup Windows from USB drive!
Thursday, 2 July 2020
Subscribe to:
Comments (Atom)